The sequence stays the same on every property, though a rainy week or a hard freeze can move individual days.
1. Free Estimate and Site Visit
You call, and the estimator walks the driveway with you. Soft areas are tested, the slope is traced and the garage threshold is checked. The free written estimate that follows gives each layer its own line and states the rolled thickness, so you can compare bids on equal terms. Photos of the existing pavement are taken for the file, which makes later comparisons easy.
2. Removing the Old Surface
Cracked asphalt is cut out and hauled away, and clay that has turned soft is dug out with it. Edges along the lawn and the garage slab are protected before the machines move. Utility covers, sprinkler lines and mailbox posts are marked before any cutting begins. Nothing gets paved over a soft base, because the new surface would fail in precisely that spot.
3. Building the Stone Base
Crushed stone goes in as layers, and each layer is pressed firm before the next one arrives. The surface is graded so water runs toward the street instead of the house. The crew checks the slope with a level and string line as each layer goes in. This stage takes the most time on the job, and it is where a driveway earns its decades.
4. Laying and Rolling the Asphalt
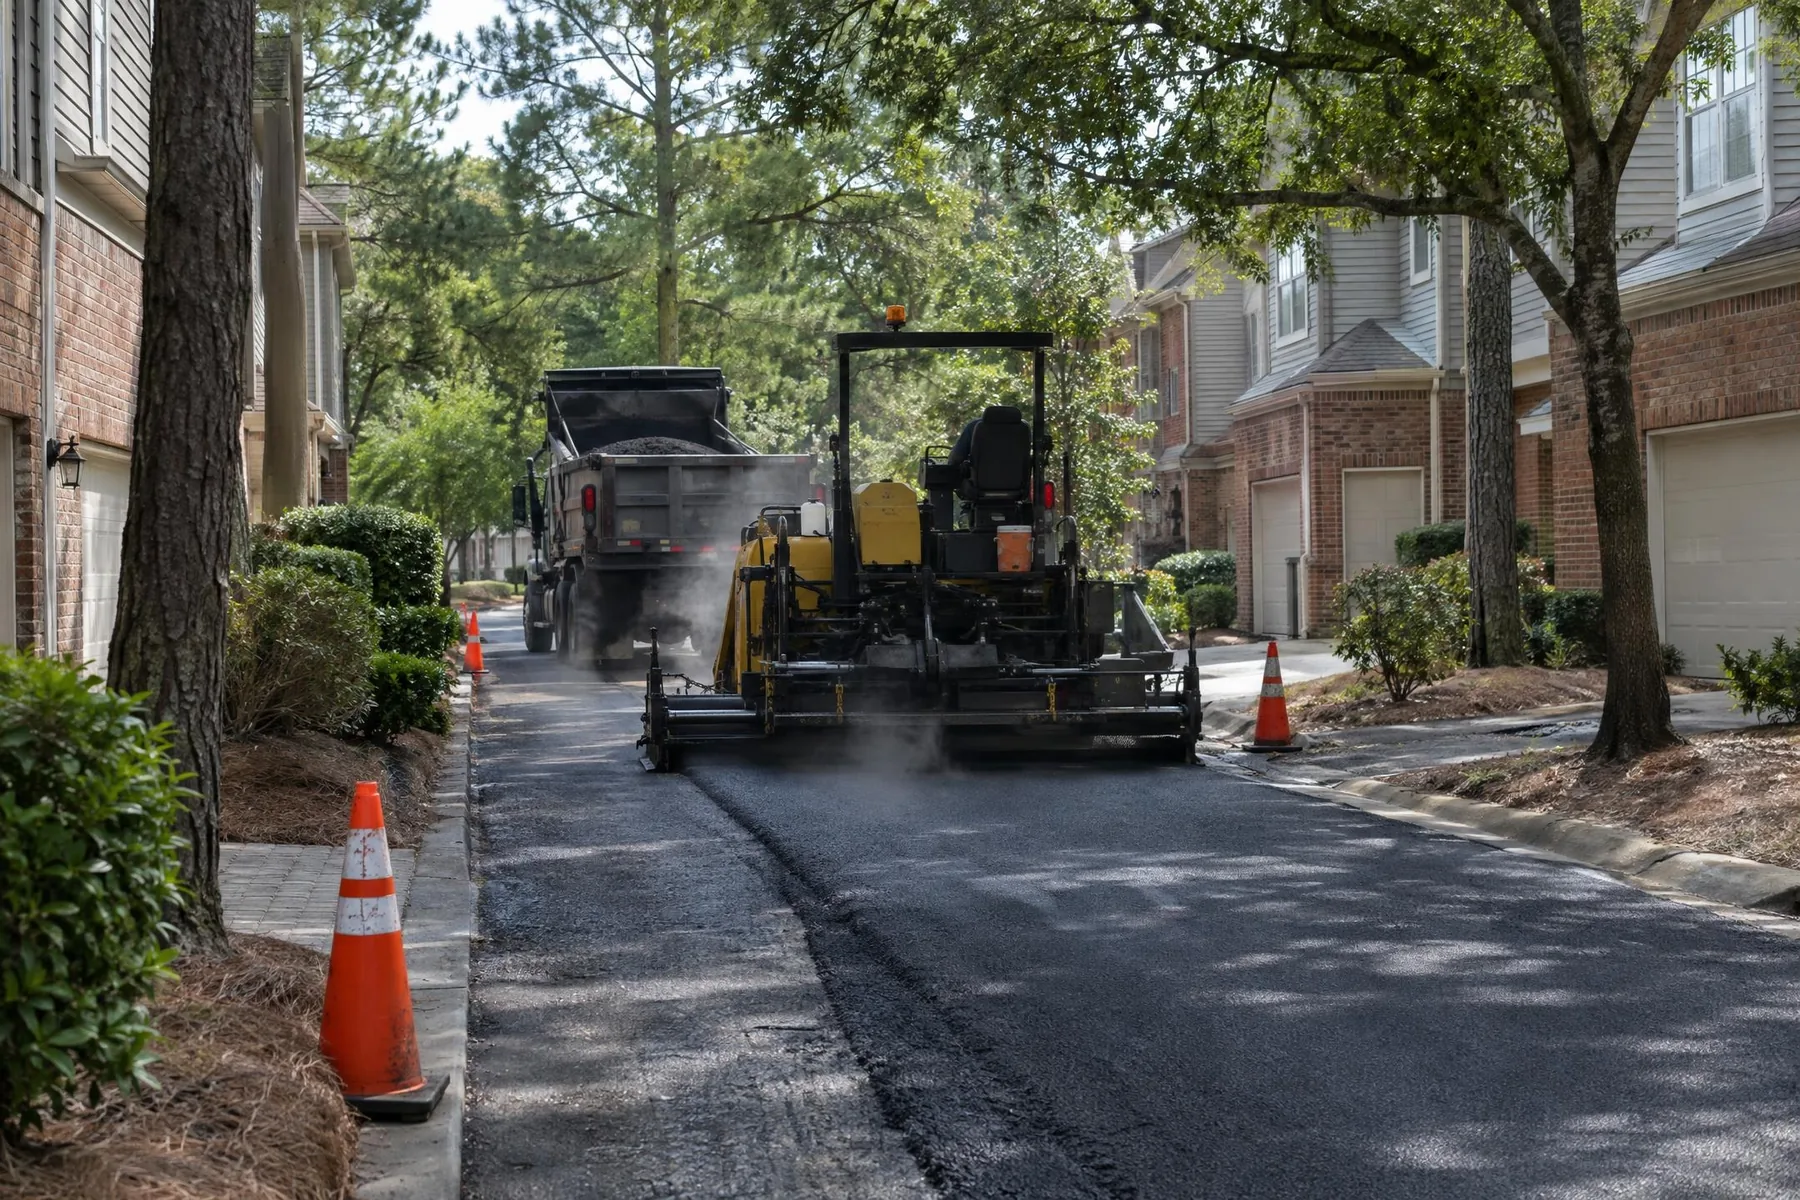
Hot mix arrives by truck and is spread to the thickness on your estimate. A roller follows at once, while the mix is warm enough to compact. Hand tools finish the seams, the corners and the apron, and edges are shaped so the driveway meets the lawn without a ragged lip. Heavy rain pauses everything, because asphalt laid on wet ground never bonds.
5. Cleanup and Cure
The crew sweeps the site, trims the borders and walks the finished driveway with you. Cars can return after two to three days, and heavy vehicles need a longer wait. The pavement keeps hardening for about six months, and the written warranty goes into your files. Questions about sealing, edging or care in the first weeks get answered on the spot while the crew is still there.